There is something magical about candles. They can transform a room, create a cosy ambience, and fill the air with your favourite scents. Some scents take us back to special memories, like the smell of freshly baked gingerbread on Christmas or the scent of a campfire that reminds us of camping with our family. But what do you do when it isn’t the holiday season and you can’t find a gingerbread candle or if campfire candles are all sold out? Make your own candle, of course! In this article, we will guide you through the step-by-step process of making your own candles so you can take a trip down memory lane by scent or enjoy the warm glow of your creation in no time.
What You Will Need
- Soy Wax Flakes
- Candle Wicks
- Essential Oils Or Fragrance Oils
- Candle Dye
- A Heat Resistant Container
- A Double Boiler or Heat-Safe Bowl
- A Thermometer
- A Stirring Utensil
- A Pair Of Scissors
Discover Essential Oils Available Online To Discover From Irish Stores Near You
Some scents take us back to special memories, like the smell of freshly baked gingerbread on Christmas or the scent of a campfire that reminds us of camping with our family.
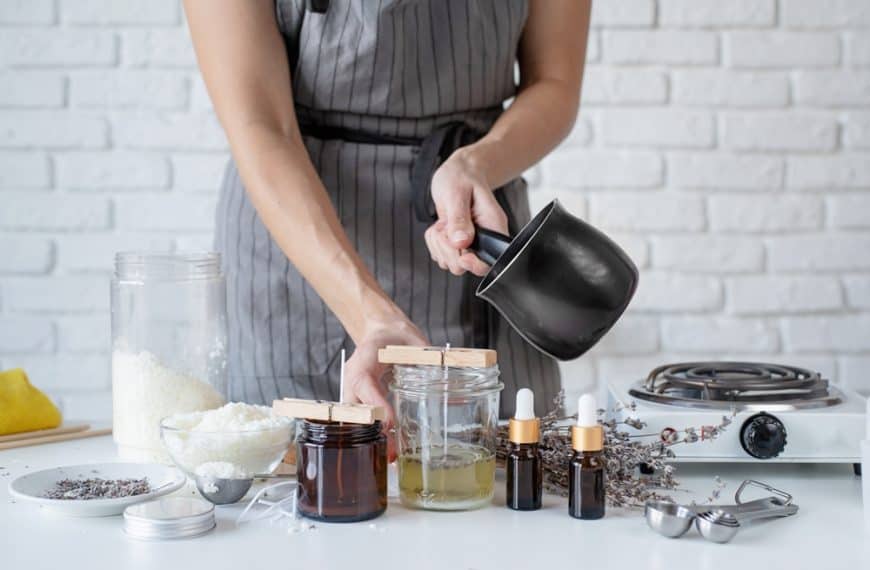
Step 1: Melt The Wax
To start your candle-making adventure, melt the soy wax flakes in a double boiler or a pot and heat-safe bowl. Heat the wax until it reaches a temperature of around 85°C. To ensure that you have reached the correct temperature, use a thermometer. If the wax overheats, it can cause discolouration, cracking, poor fragrance, and rough tops. So, it would be best not to let the wax overheat.
Step 2: Prepare The Container And The Wicks
While you wait for your wax to heat to the proper temperature, you can prepare the container and wicks. This is where you can start being creative by choosing the container you will make your candle in. It could be a heart-shaped glass or tea cup; the options are endless. Just be sure you select a heat-resistant material, as you don’t want your container to break when your candle heats up. Once you have picked out your container, place the wick in the centre, ensuring it is straight and secure. You can use a little bit of hot glue to keep your wick in place at the bottom and a clothespin to keep it straight at the top when pouring in the wax.
Step 3: Add Scent And Colour
Once the wax has melted, you can add your chosen fragrance or essential oils. We recommend using about 1oz of fragrance or essential oil per pound of wax. If you want to add colour, you can use a candle dye by adding a small amount and stirring until it is completely dissolved.
Step 4: Pour The Wax
Once you have everything mixed in, slowly pour the wax into your container, being careful not to disturb the wick. Leave about 1.2cm of space at the top of the container to allow the wax to expand as it cools.
Step 5: Let The Candle Cool
Let the candle cool completely, preferably overnight. Once the candle is completely cool, trim the wick to about .6cm above the wax.
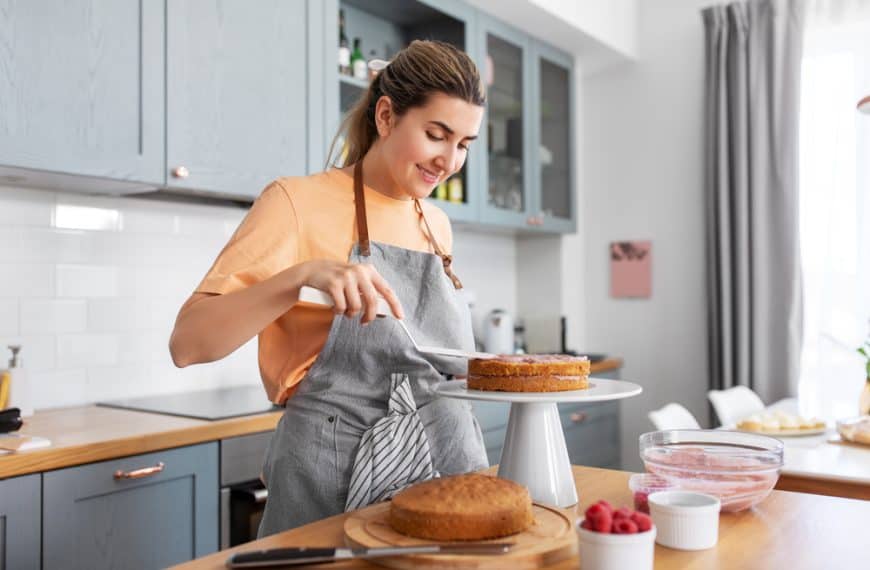
Finding Your Niche: Simple Arts And Crafts Hobby Ideas To Explore
“Hobbies are great distractions from the worries and troubles that plague daily living.”-Bill Malone. With the hustle and bustle of daily life, it is essential to make time for yourself to do something you are passionate about. Hobbies allow us…
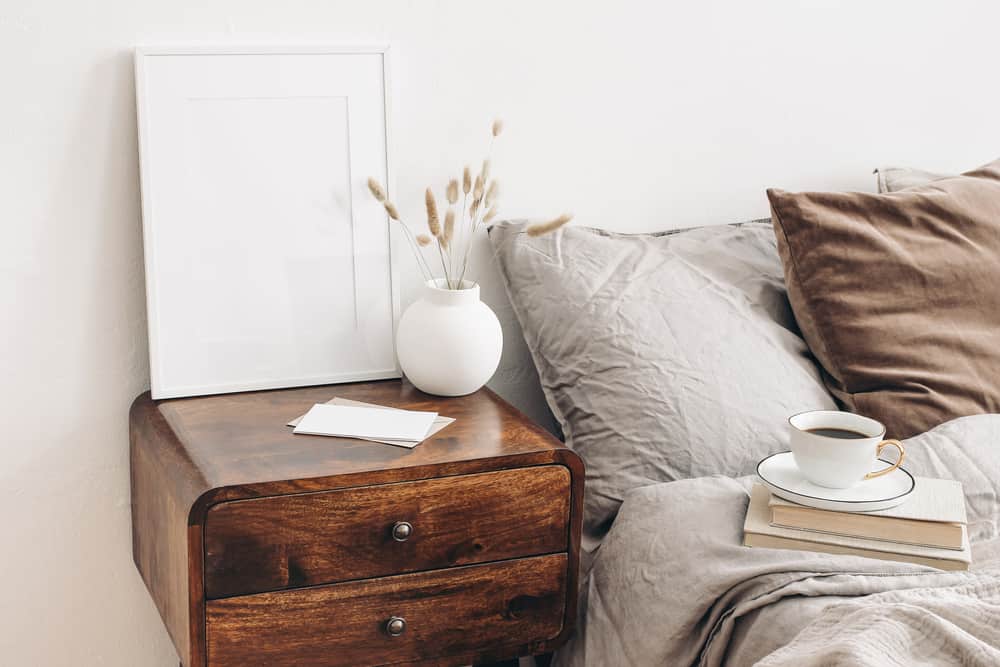
How To Restore Your Old Bedside Table
Bedside tables are a must-have in any bedroom, but they can become worn and tired-looking over time. But, instead of discovering a new one, you can restore your old bedside table to give it a new lease on life. Here…

How to Create an Eye-Catching Bookcase
Everyone enjoys a good read, from expanding our knowledge base to diving into other worlds. The adventures and possibilities are endless with a book in our hands. We are no exception to this, as the Irish have been voted the…
More Discovering Guides

How To Celebrate Father’s Day
Welcome to our ultimate guide on celebrating Father’s Day in a way that will leave your dad grinning from ear…